EmberGen Essentials: Crash Course 2026
Part 1: The Interface
Welcome to the EmberGen Essentials Crash Course. Over this five-part series, we are going to build your skills from the ground up. The goal is simple: within 10 minutes, you’ll understand the basics, and within an hour, you’ll be rendering simulations high-quality enough to show off.
In this first part, we are taking a tour of the interface. It might look complex at first glance, but once you learn the "language" EmberGen speaks, it becomes incredibly intuitive.
Linked here is the video version of this tutorial, and below is the written version, enjoy!
You can view the video version of this tutorial by clicking on the video above.
1. The Home Screen
Excerpt - Full Tutorial Video Available Here
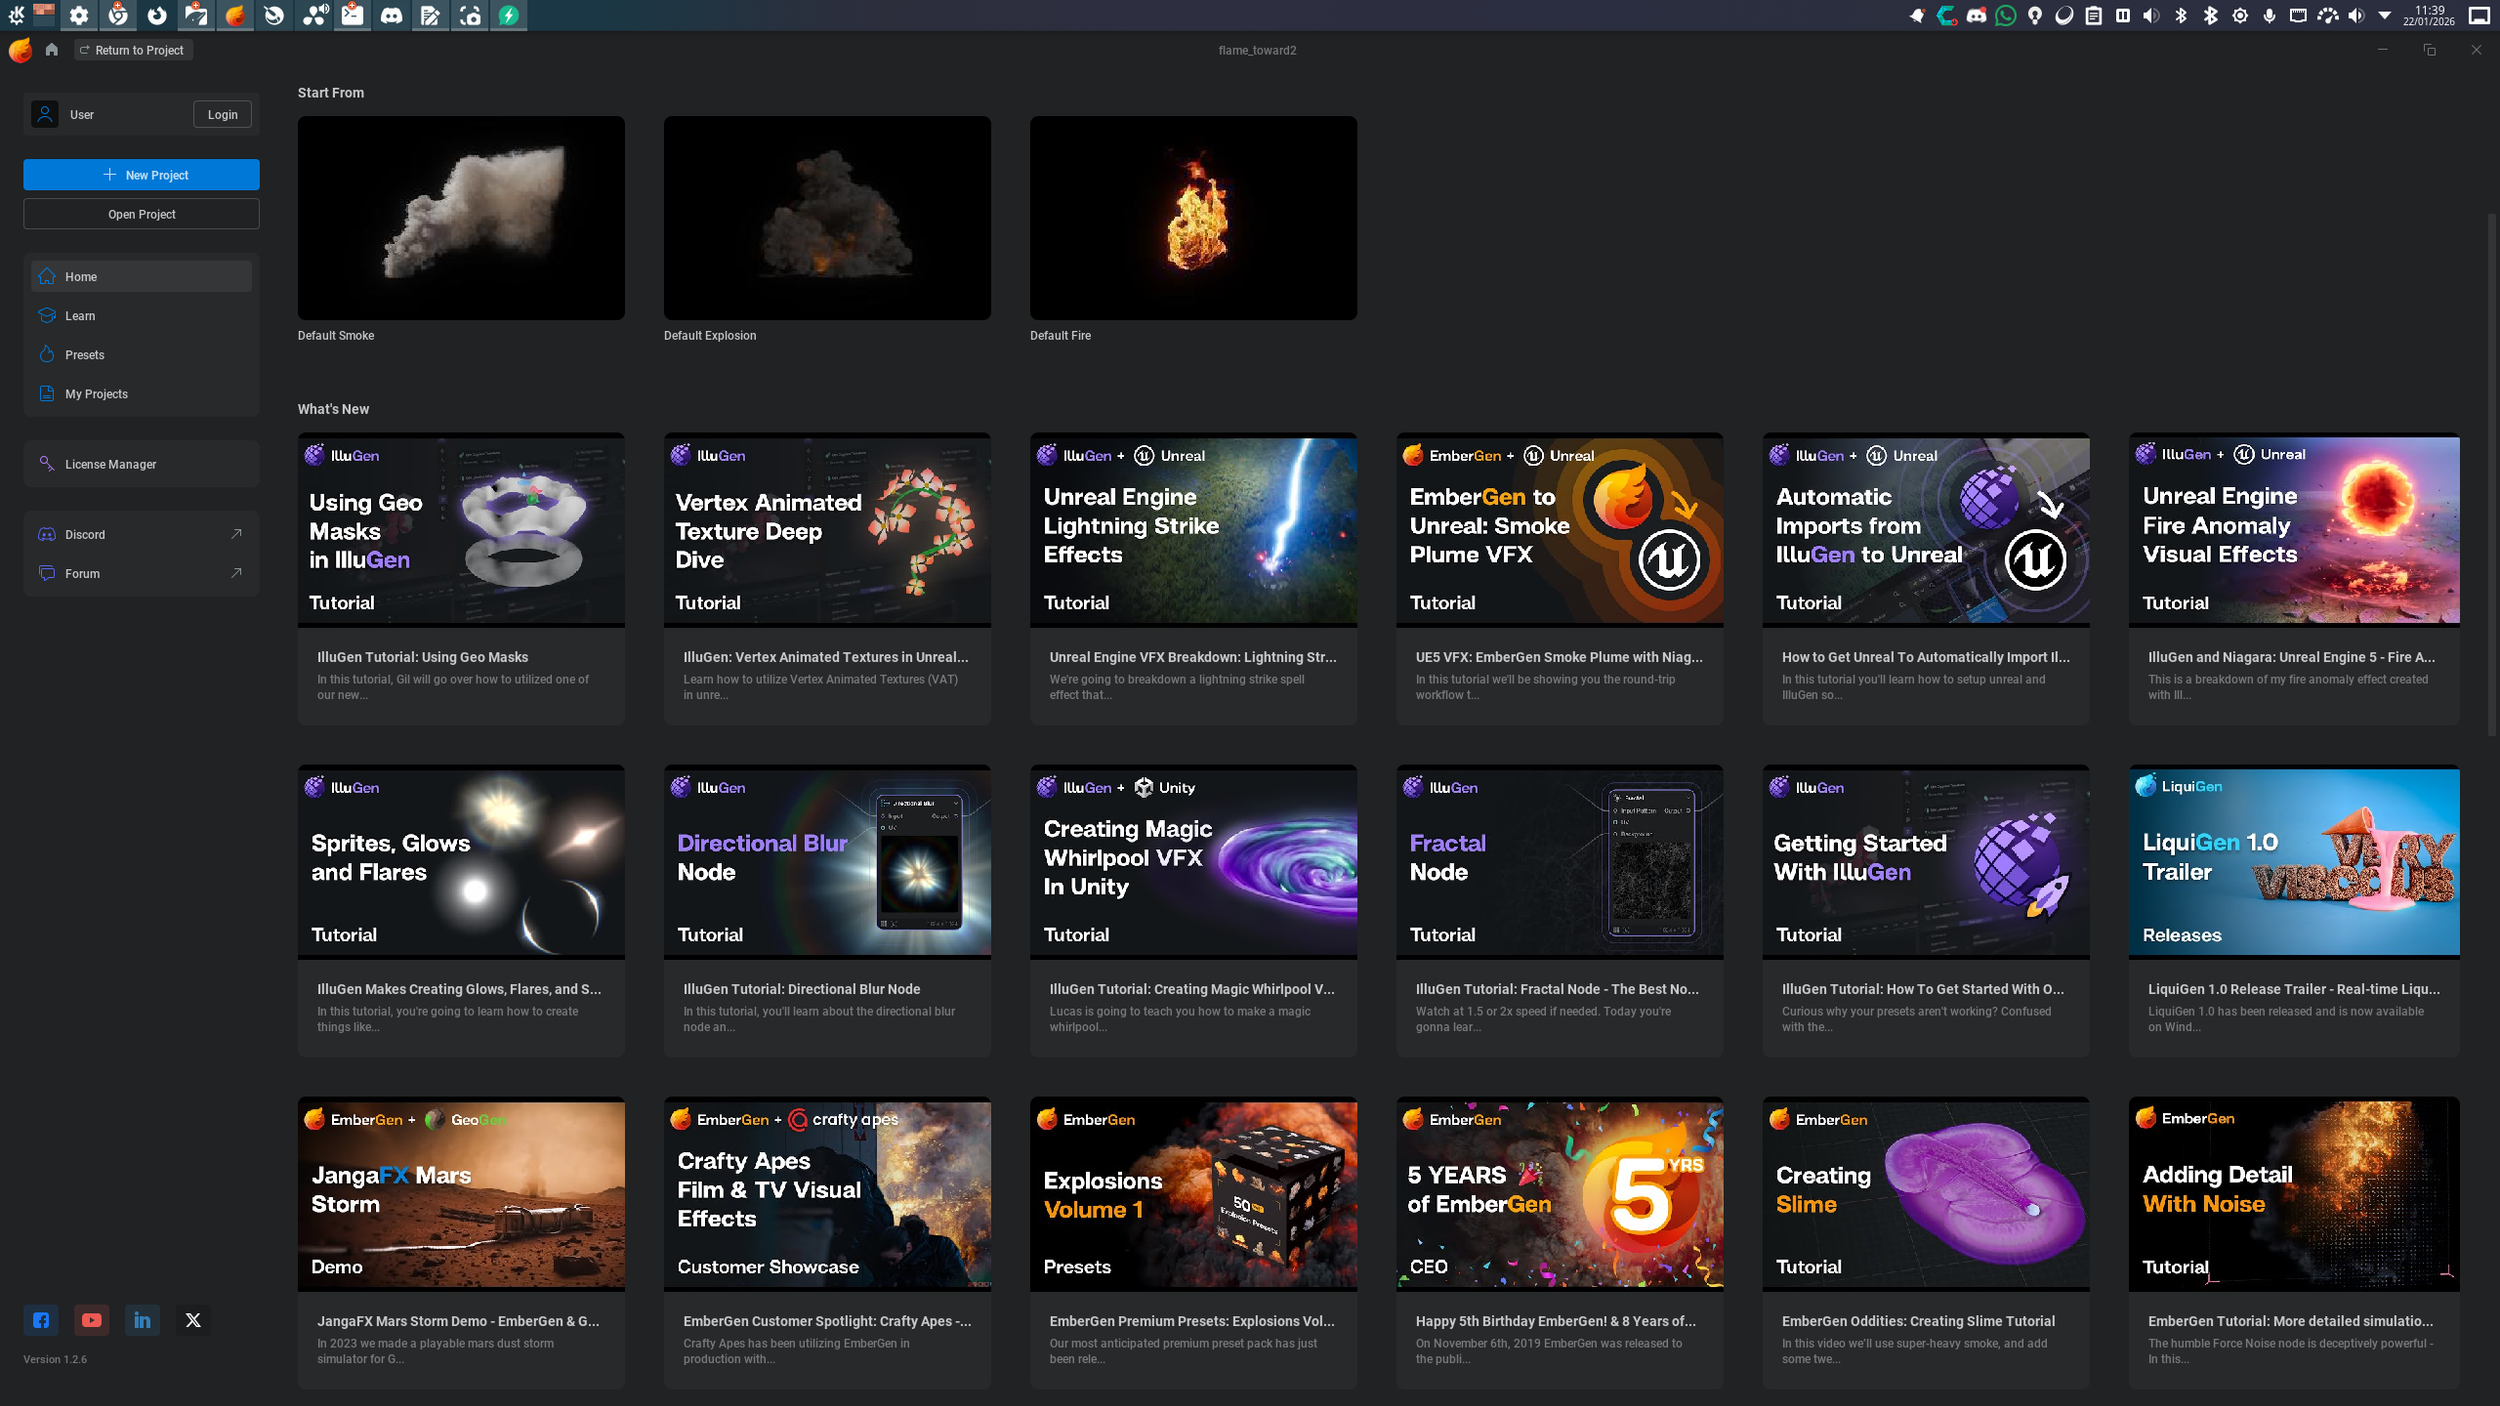
When you first launch EmberGen, you are greeted by the Home Screen: This is your central hub for learning and project management.
Tutorials: You’ll see links to official tutorials (hosted on YouTube) ranging from beginner basics to advanced techniques.
Project Management: On the left, you can start new projects or open recent ones.
Presets (The Secret Weapon): The preset browser is incredibly useful for learning. You can open any of these pre-built examples to reverse-engineer how they were made.
For this guide, we are going to open the Default Fire preset to use as our sandbox.
3. The Node Graph
Excerpt - Full Tutorial Video Available Here
If the Viewport is the product, the Node Graph (top-right of the interface) is the factory.
Think of the flow like a production line: data comes in on the left, moves through various modifiers, and the final result (your render) comes out on the right. Don’t worry about what all of those nodes mean right now; we’ll get our hands dirty later. This is what we’re going to be building things with.
Noodles: The lines connecting nodes are called noodles. You can double-click a noodle to disconnect it (you’ll see your simulation stop immediately), and drag to reconnect it.
Organization: You can select multiple nodes and hit C on your keyboard to create a Comment Box. This groups nodes together, allowing you to drag them around as a single unit. Depending on how messy you might be [and I’m pretty bad] - this is great for keeping complex projects organized.
4. The Properties Panel
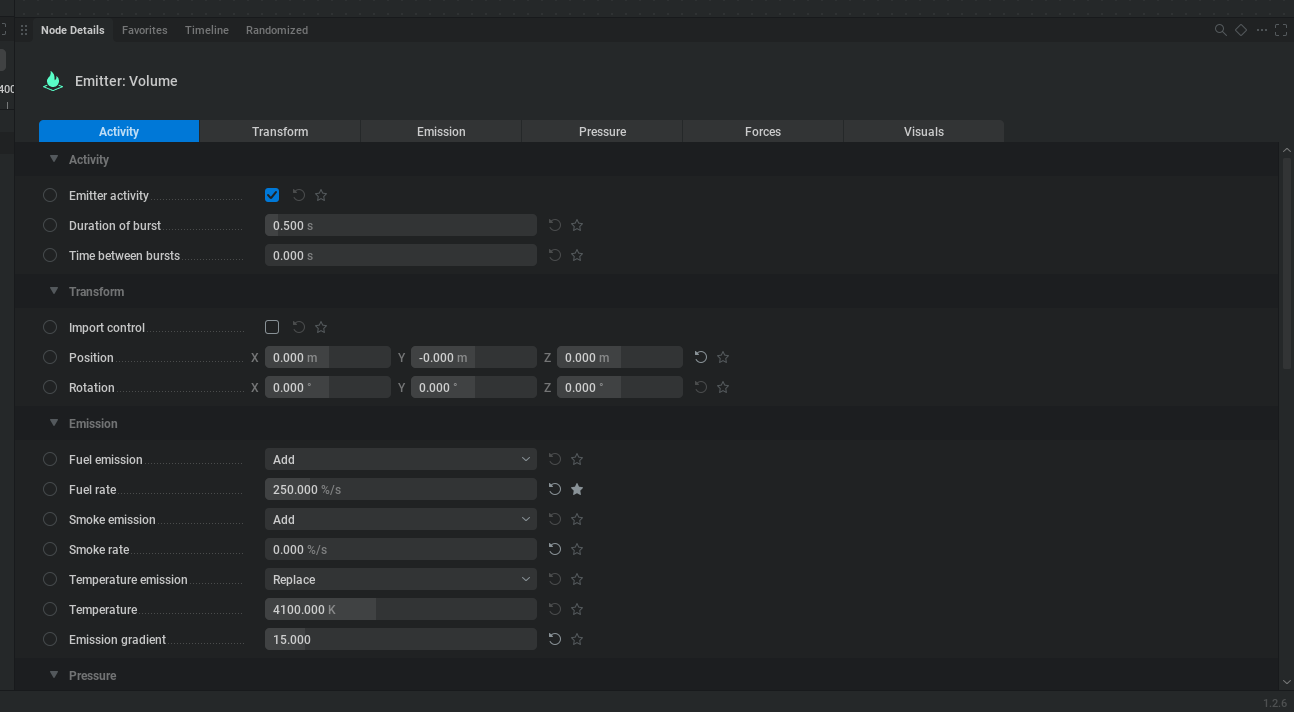
While the Node Graph tells EmberGen what to make, the Properties Panel (bottom right) tells it how to make it. This is where you will spend 90% of your time tweaking the look of your simulation.
When you click a node (like the Volume Emitter), its specific settings appear here. A few tips for using this panel:
Tabs are Shortcuts: The tabs at the top (e.g., Activity, Transform, Emission, etc) aren't separate pages; they are just anchor links that scroll you down to that section of the list.
Soft Limits: Sliders often have a "glass ceiling." For example, the
Smoke Rateslider might top out at 1,500. However, you can manually type in a higher number (e.g., 3,333) to break that limit.Resetting: If you mess up a value, click the small "Reset" arrow that appears next to the property to snap it back to default.
5. Introduction to Overrides
Excerpt - Full Tutorial Video Available Here
This is the most powerful feature in the EmberGen UI. To the left of every property is a small symbol.
This is your new MVP, the Override Control.
Clicking this symbol cycles through three states:
No Override: The value is static.
Timeline Override (Keyframe): The value can be animated over time using the timeline.
Pin Override: This exposes a new "input pin" on the node in the graph.
Why is the Pin Override cool?
Once you expose a pin (for example, on
Fuel Rate), you can connect other nodes to it. You could plug an Oscillator node into that pin to automatically drive the fuel rate up and down mathematically, rather than animating it by hand!
6. The Timeline & Playback
Excerpt - Full Tutorial Video Available Here
The Timeline is located at the bottom left. It functions differently than software like After Effects or Premiere Pro because of the real-time engine.
The "No Rewind" Rule: You can pause the simulation (Spacebar), but you generally cannot scrub backward on the timeline. Because EmberGen simulates on the fly, it doesn't know what the previous frame looked like unless it calculates it again from the start.
Likewise, you can’t scrub forward either: Aside from seeing how non-simulated, animated objects move over time.
The Reset Shortcut: If you need to restart the simulation, just hit R on your keyboard. This snaps everything back to Frame 0 so that you can play it again.
Don’t worry too much about how to add keyframes - we’ll have a whole session all about that in due course.
Since most FX simulations (explosions, magic hits) are only a few seconds long, this workflow is faster than it sounds!
Tutorial Round Up
Excerpt - Full Tutorial Video Available Here
So that’s the interface in a nutshell!
Viewport: Where you see it.
Node Graph: Where you build it.
Properties: Where you refine it.
Don't be intimidated by the nodes. Once you understand the flow, you’ll understand that you’re building a logic system, which, combined with Embergen’s instant visual feedback, is pretty powerful.
Things to remember:
For help & assistance - check out the JangaFX Discord Server; there’s hundreds of friendly people in there that are eager to share tips and tricks.
For handy Shortcuts - look at the bottom edge of the screen while you explore Embergen: it will show you relevant keyboard shortcuts as you go.
In Part 2, we will stop looking and start building. We will patch nodes together to create our first custom simulation.
If you found this tutorial useful, please consider becoming a supporter on my Patreon page, or liking, subscribing, or sharing videos from my YouTube channel!